How To: Install phpMyAdmin on Amazon Linux
I've been managing a few small MySQL databases lately that often need record updates but certainly don't warrant building a separate management interface. The easiest way to accomplish this (assuming you don't have complicated joins and relationships) is to install phpMyAdmin, a robust, web-based admin utility for MySQL that is built in php. In my case, I'm running these mostly on Amazon Linux instances, so after a little poking around, it turns out the installation is just 3 simple steps.
1. Install phpMyAdmin using yum with the epel repo.
sudo yum --enablerepo=epel install phpmyadmin
This will ask to install some dependencies.
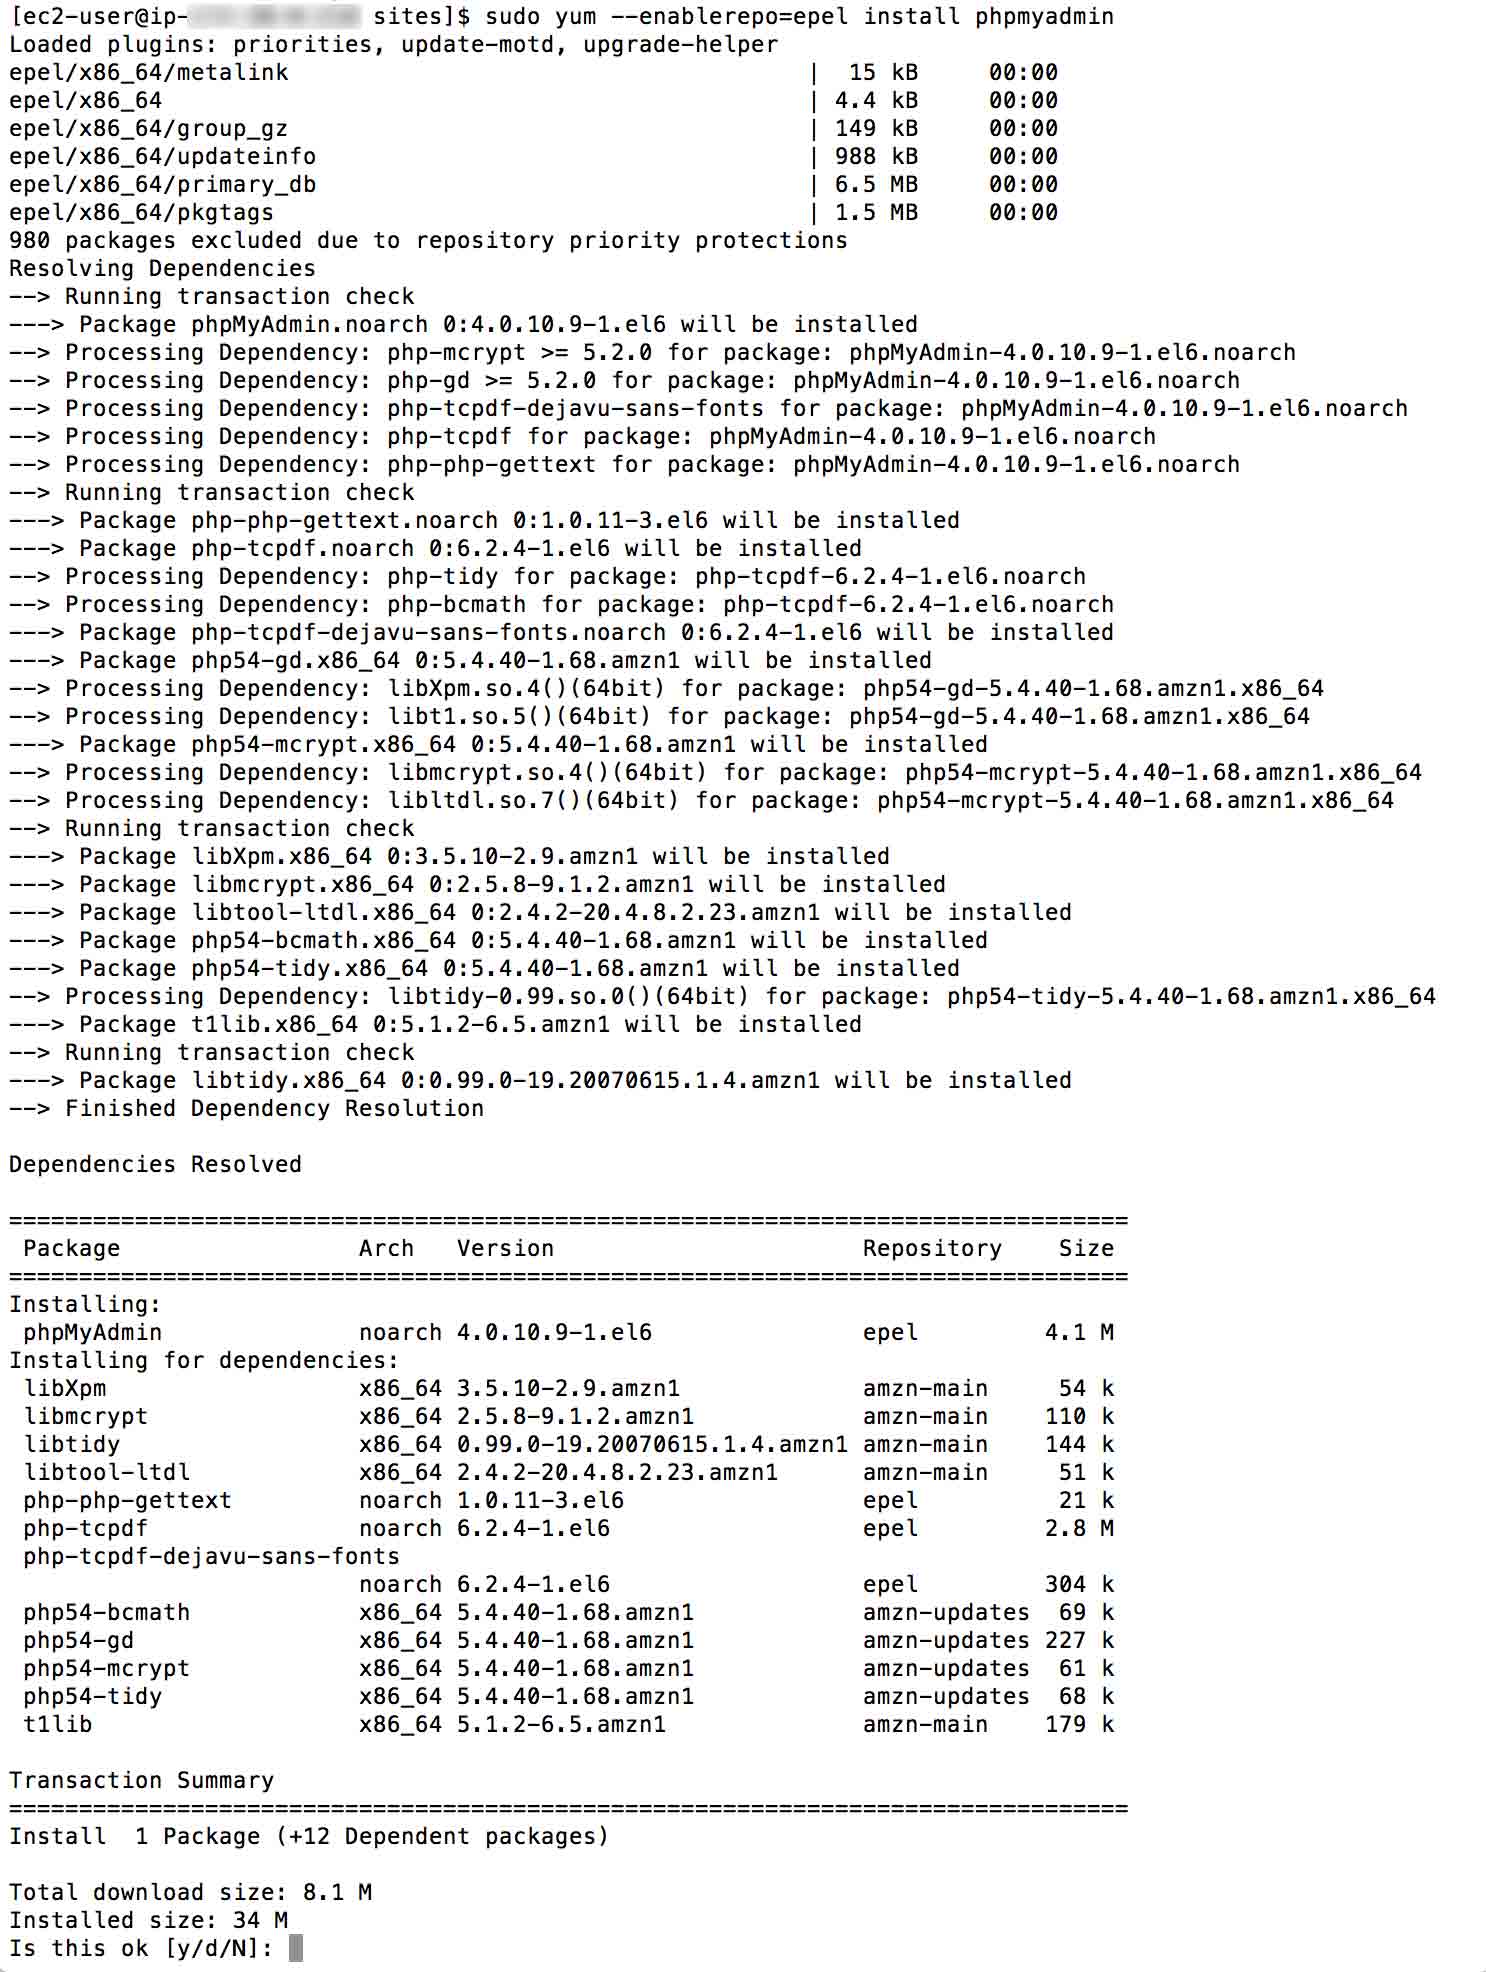
Enter "y" to accept.
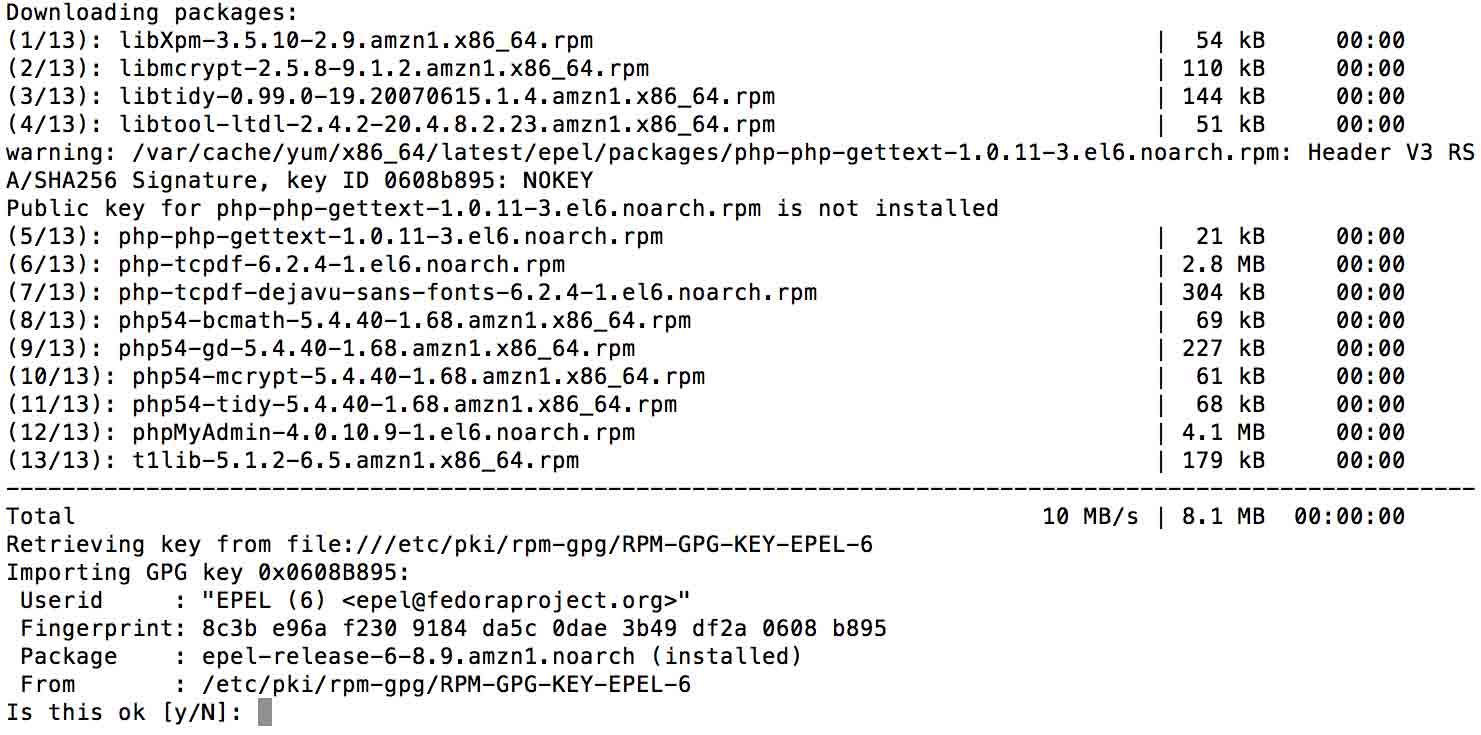
It will then ask you to import the GPG key. Enter "y" to accept.
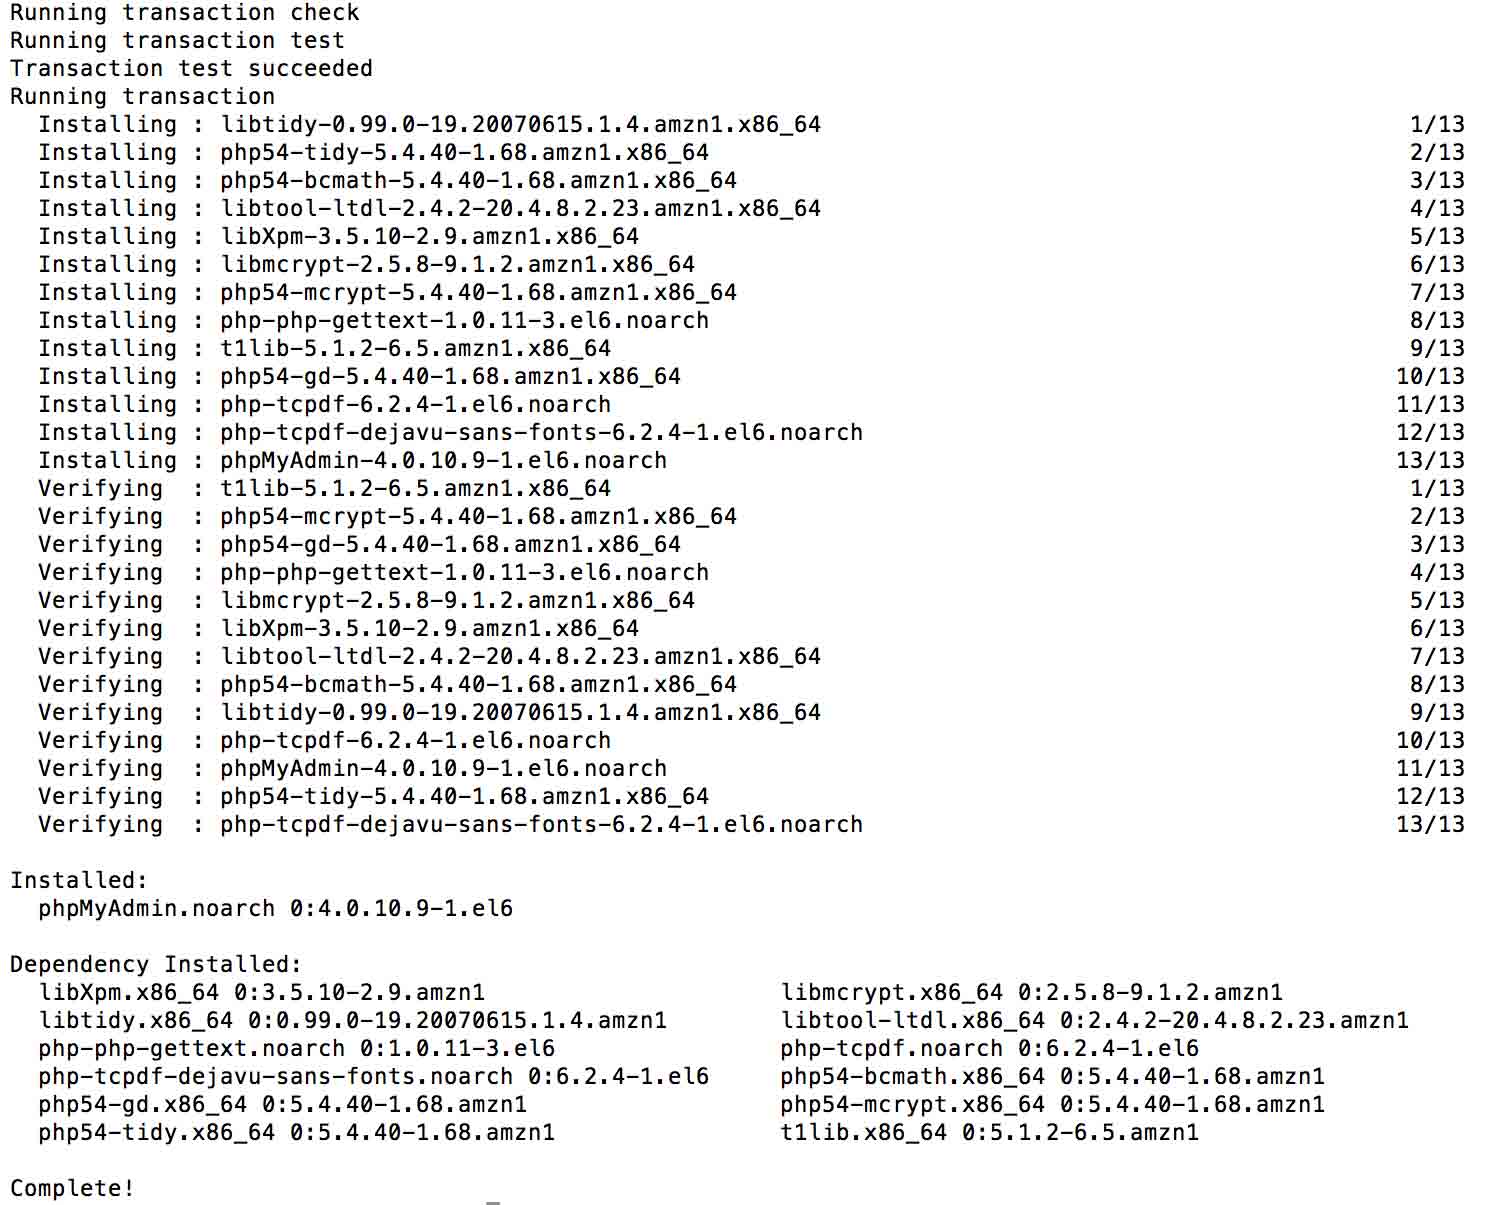
2. Map phpMyAdmin to a web accessible directory with a symbolic link.
sudo ln -s /usr/share/phpMyAdmin /path/to/web/directory/phpmyadmin
The link is case sensitive, so be sure that phpMyAdmin has the correct capitalization.
3. Restart the httpd service.
sudo service httpd restart
And that's it. Go to http://www.yoursite.com/phpmyadmin and you should see a login screen. Please note that this will connect to the MySQL server on localhost, but if you want to connect to additional servers (or make any other configuration changes), you'll need to manipulate the config.inc.php file. For the Amazon Linux distribution, it is located in the /etc/phpMyAdmin directory.
There is also a setup tool that can be used to generate the configuration file. Go to http://www.yoursite.com/phpmyadmin/setup and you'll see all the options.